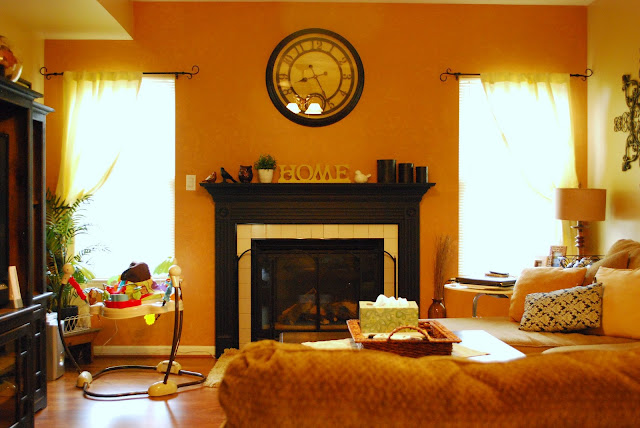
So one of the projects we did was to update the wall that our fireplace is located on (in our Family Room). The wall has been bare and painted the same color for over 10 or 11 years, so it was time to make a change. Please forgive this terrible BEFORE picture, it was the only one I could find...but it still gives you an idea what it was originally like.
A few years ago I decided to paint the fireplace black, here's a pic of that.
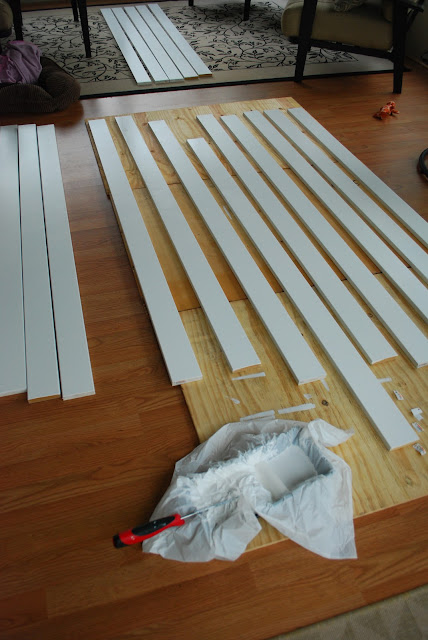
I loved the way it looked but knew it needed something else. I wanted to add interest to the fireplace to help make it more of a focal point in the room, instead of just another floating piece of furniture. At first I thought we would do rock or tile above to the ceiling, but that didn't feel "right". Then I thought maybe I would do some sort of paint technique up there but again, that didn't really make me jump for joy. Then it hit me as I was browsing one of my favorite blogs. She did a wood technique above her fireplace that I absolutely LOVED and it was exactly what my fireplace needed! Here's the DURING and AFTER.....
(Painting the wood for above the fireplace. Lots and lots of painting....)
(the wall is painted, the frame is UP!)
(All done....well.....not really. But already MUCH better!)
Here's what we did. We painted the wall a pewter/grey color, added the wood detail above the fireplace, removed the old window treatments, and added the bamboo shades. The cost: paint was $25 for a gallon (which we used very little of on this wall then saved the rest for another project in another area of our house.... which I'll share soon), the shades were $31 each at Home Depot, and the wood was around $50 (also at Home Depot). This project came in well under $150.
Of course the room isn't done yet. I'm trying to decide on window treatments, what to hang on the new wood wall, and of course how I want to decorate the mantel for Fall. What a difference changing one wall in this room made!
Linking up to:


LOVE it!!! Looks fantastic! :)
ReplyDelete